Open Mac surgery
Jul 2011 4 minute readMuahahah, finally the patient is ready for testing! *cough* sorry, been working on this for so long now it’s sent me slightly round the twist. Well, slightly *further* round the… You know what I mean!
After a prolonged period of intense irritation, the first edition MacBook black is now sporting a 64bit Core2 processor, a shiny new motherboard and a few other fiddly things. If you’re squeamish about graphic shots of open cases, look away now…
The problem
More and more apps - and by the looks of things the latest version of Mac OS - are moving to 64bit. I feel left out and my 1st Gen was-top-of-the-line-once MacBook is feeling pretty tired. But I like it, it’s been my friend a long time and there’s nothing really “wrong” with it aside from it starting to feel a bit sluggish and the latest versions of things like CouchDBX refuse to run. And besides I don’t really have the cash to burn buying an entry-level MacBook Pro for home use right now.
The proposed solution
I have taken the rash decision to “upgrade” my 2Ghz MacBook with parts sourced from eBay on the grounds that if I kill it I can claim on the insurance and buy a new one after all. (Spoiler: Thankfully this wasn’t necessary.)
Ingredients
- 1 x logic board with 2.16GHz 64bit chip pre-installed
- some screwdrivers
- a 10p coin (or a quarter, similar size)
- thermal compound
- stuff to clean off the old thermal compound
- a fair amount of patience
- …and some sticking plasters in expectation of the traditional blood sacrifice being required (there are no photos of the blood sacrifice, it’s not that sort of blog post)
The catch
Why such a small chip upgrade (2Ghz to 2.16Ghz)? Well given the limitations of the case layout, there are limited options in terms of what can be crowbarred into the laptop equivalent of the engine bay, otherwise I would have put in something even faster and with a better understanding of modern RAM limitations. And it turns out there were 4 different models of fan for the plastic MacBook range, none of them cross-compatible with any of the others, and the replacement motherboard required a different one to the original. Oh and the original MacBook motherboard didn’t use an EnergyStar compliant power connector so I needed a new one of those as well. Each of these discoveries saw me returning to eBay to buy more bits, meaning more money spent and more time wasted. And let’s not talk about the threaded screw / Dremel incident. Really. Just don’t. Please.
The build
Let’s pretend most of that last paragraph never happened. Here’s one I made earlier…
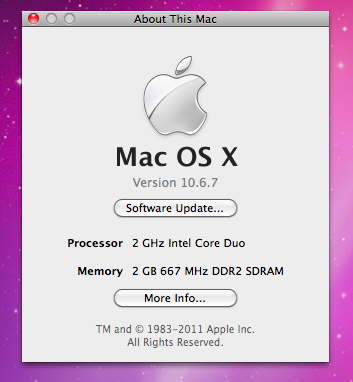
Starting point
Bog standard 32bit Intel Core duo
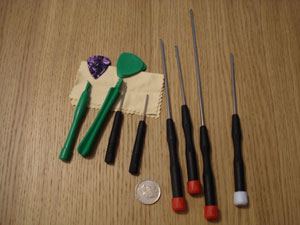
Assemble the tools
Unlikely to use all of those but nice to have everything handy
Make sure the instructions are handy
(pretty sure this isn’t what entirely Steve had in mind when he brought forth the iPad)
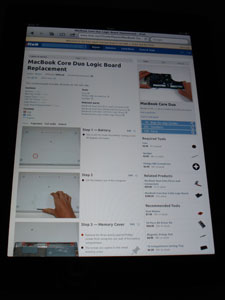
(That’s iFixIt.com in case you were wondering)
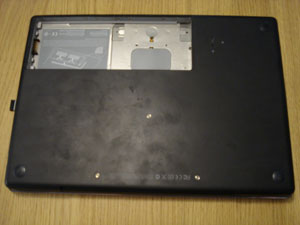
Use the coin, get rid of the battery
Simple so far…
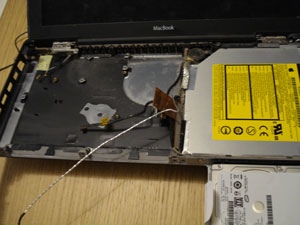
Use everything else, disassemble!
Hmmm, may have skipped a few steps there
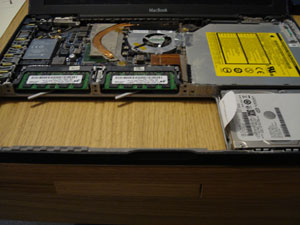
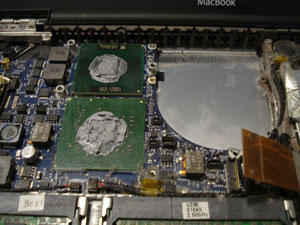
Get rid of the fan
Fiddly, it’s in two pieces that need to be lifted out as one. And getting that silvery stuff on the table is a terrible idea
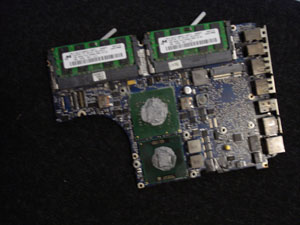
Take out the logic board
This is the bit that makes the computer go. Smaller than expected
Reassemble, test
New board in, old board on eBay. Screw it all back together. Hide the bits that got leftover. Reinsert battery. Cross fingers. Press the start button and…
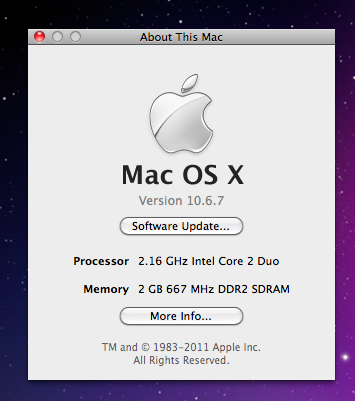
Tada! 64bit Intel Core 2
Was it worth it?
I think so. Cost me probably around £300 in the end (yes, including the Dremel), which is more than I’d intended but still a lot cheaper than buying a new computer. (Although admittedly a new computer would’ve been a lot faster and be capable of having a lot more RAM stuffed into it.) An interesting exercise and a computer that should be good for another 2-3 years, a reasonable investment I’d say.